Custom Page
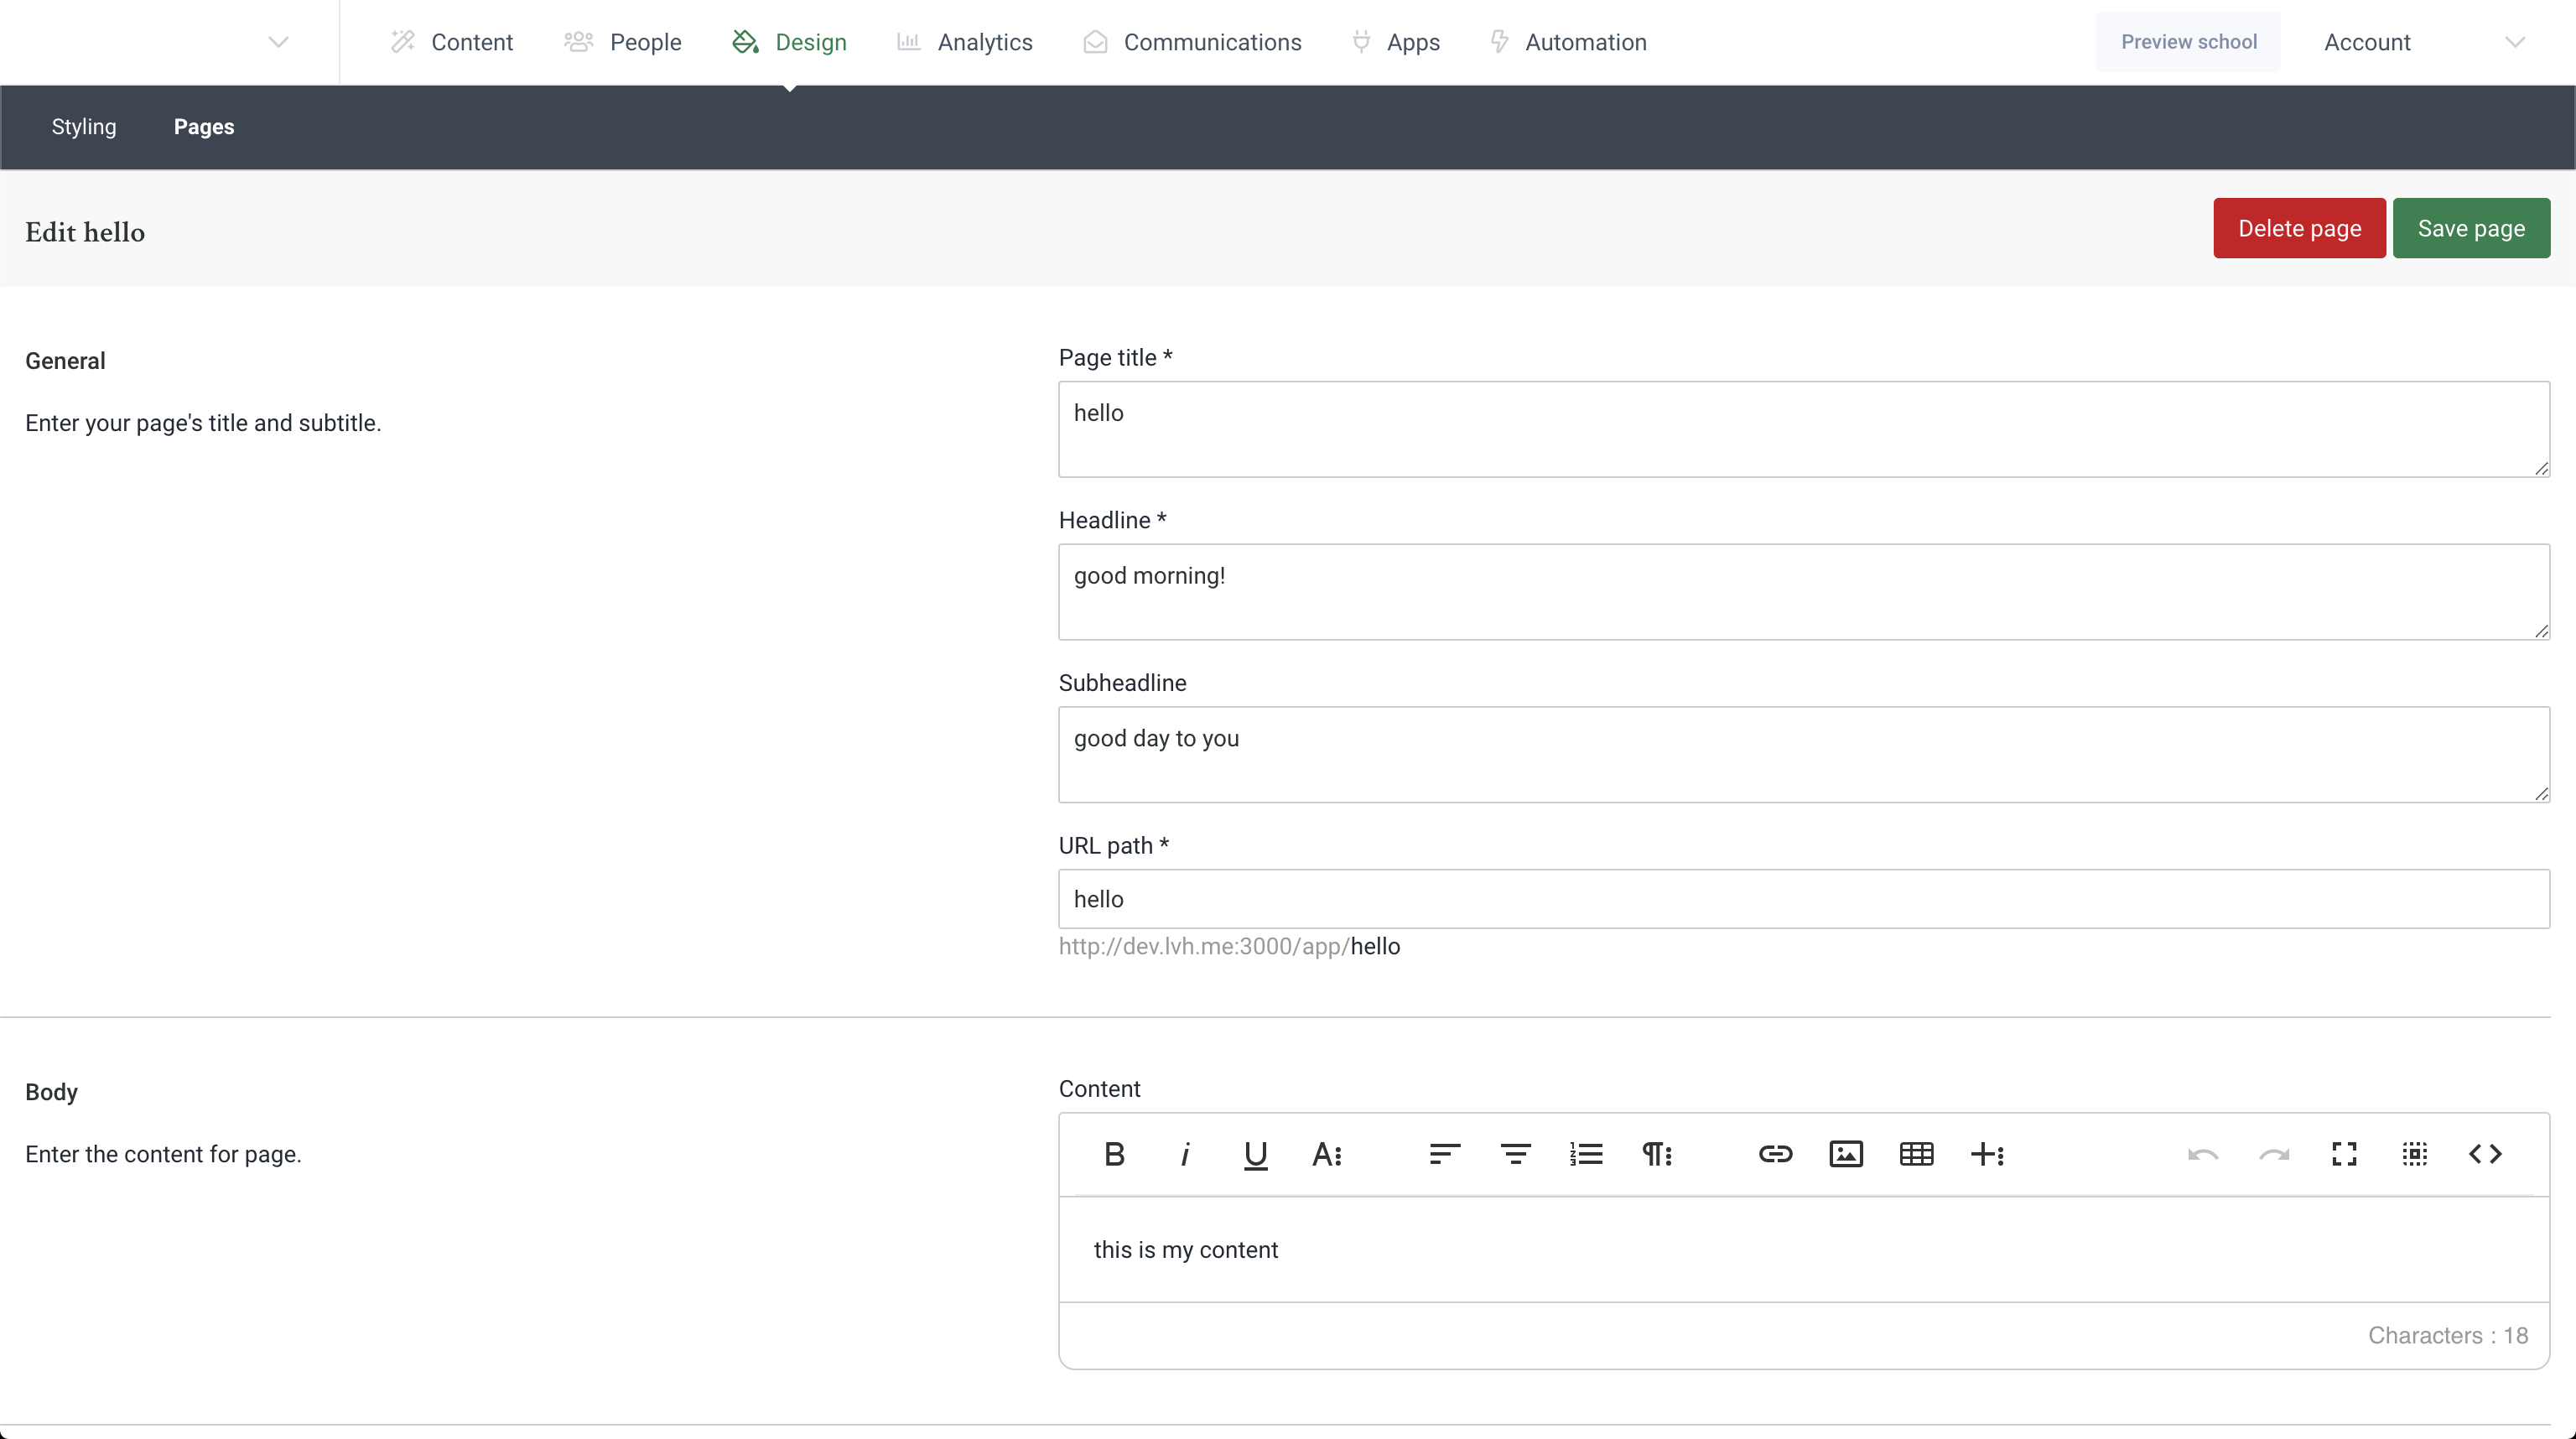
When the Website & Catalog app is turned on, the school's admin can add custom pages in the Design tab. After a custom page is created, the admin can fill in its attributes and implement the page using a custom template. All the attributes of the custom page are available in the Liquid template using the custom_page variable.
URL
You can specify the URL the custom page is available at using the "URL path" of the custom page.
Structure
The name of the corresponding template depends on the "URL path" field of the custom page. For example, if the "URL path" is set to "hello", then the corresponding template is hello.html.liquid.
Template Considerations
This template exposes a custom_page variable. Here is the list of its attributes:
| name | type |
|---|---|
| content | string |
| headline | string |
| subheadline | string |
| page_title | string |
| slug | string |
Example
- Admin created a custom page and specified its "URL path" attribute to "hello", along with other data:

- Admin prepares a liquid template with the name corresponding to the "URL path" of the page:
<h1>{{ custom_page.page_title }}</h1>
<h2>{{ custom_page.headline }}</h2>
<h3>{{ custom_page.subheadline }}</h3>

<p>the current page's path is: {{ custom_page.slug }}</p>

<div>{{ custom_page.content }}</div>
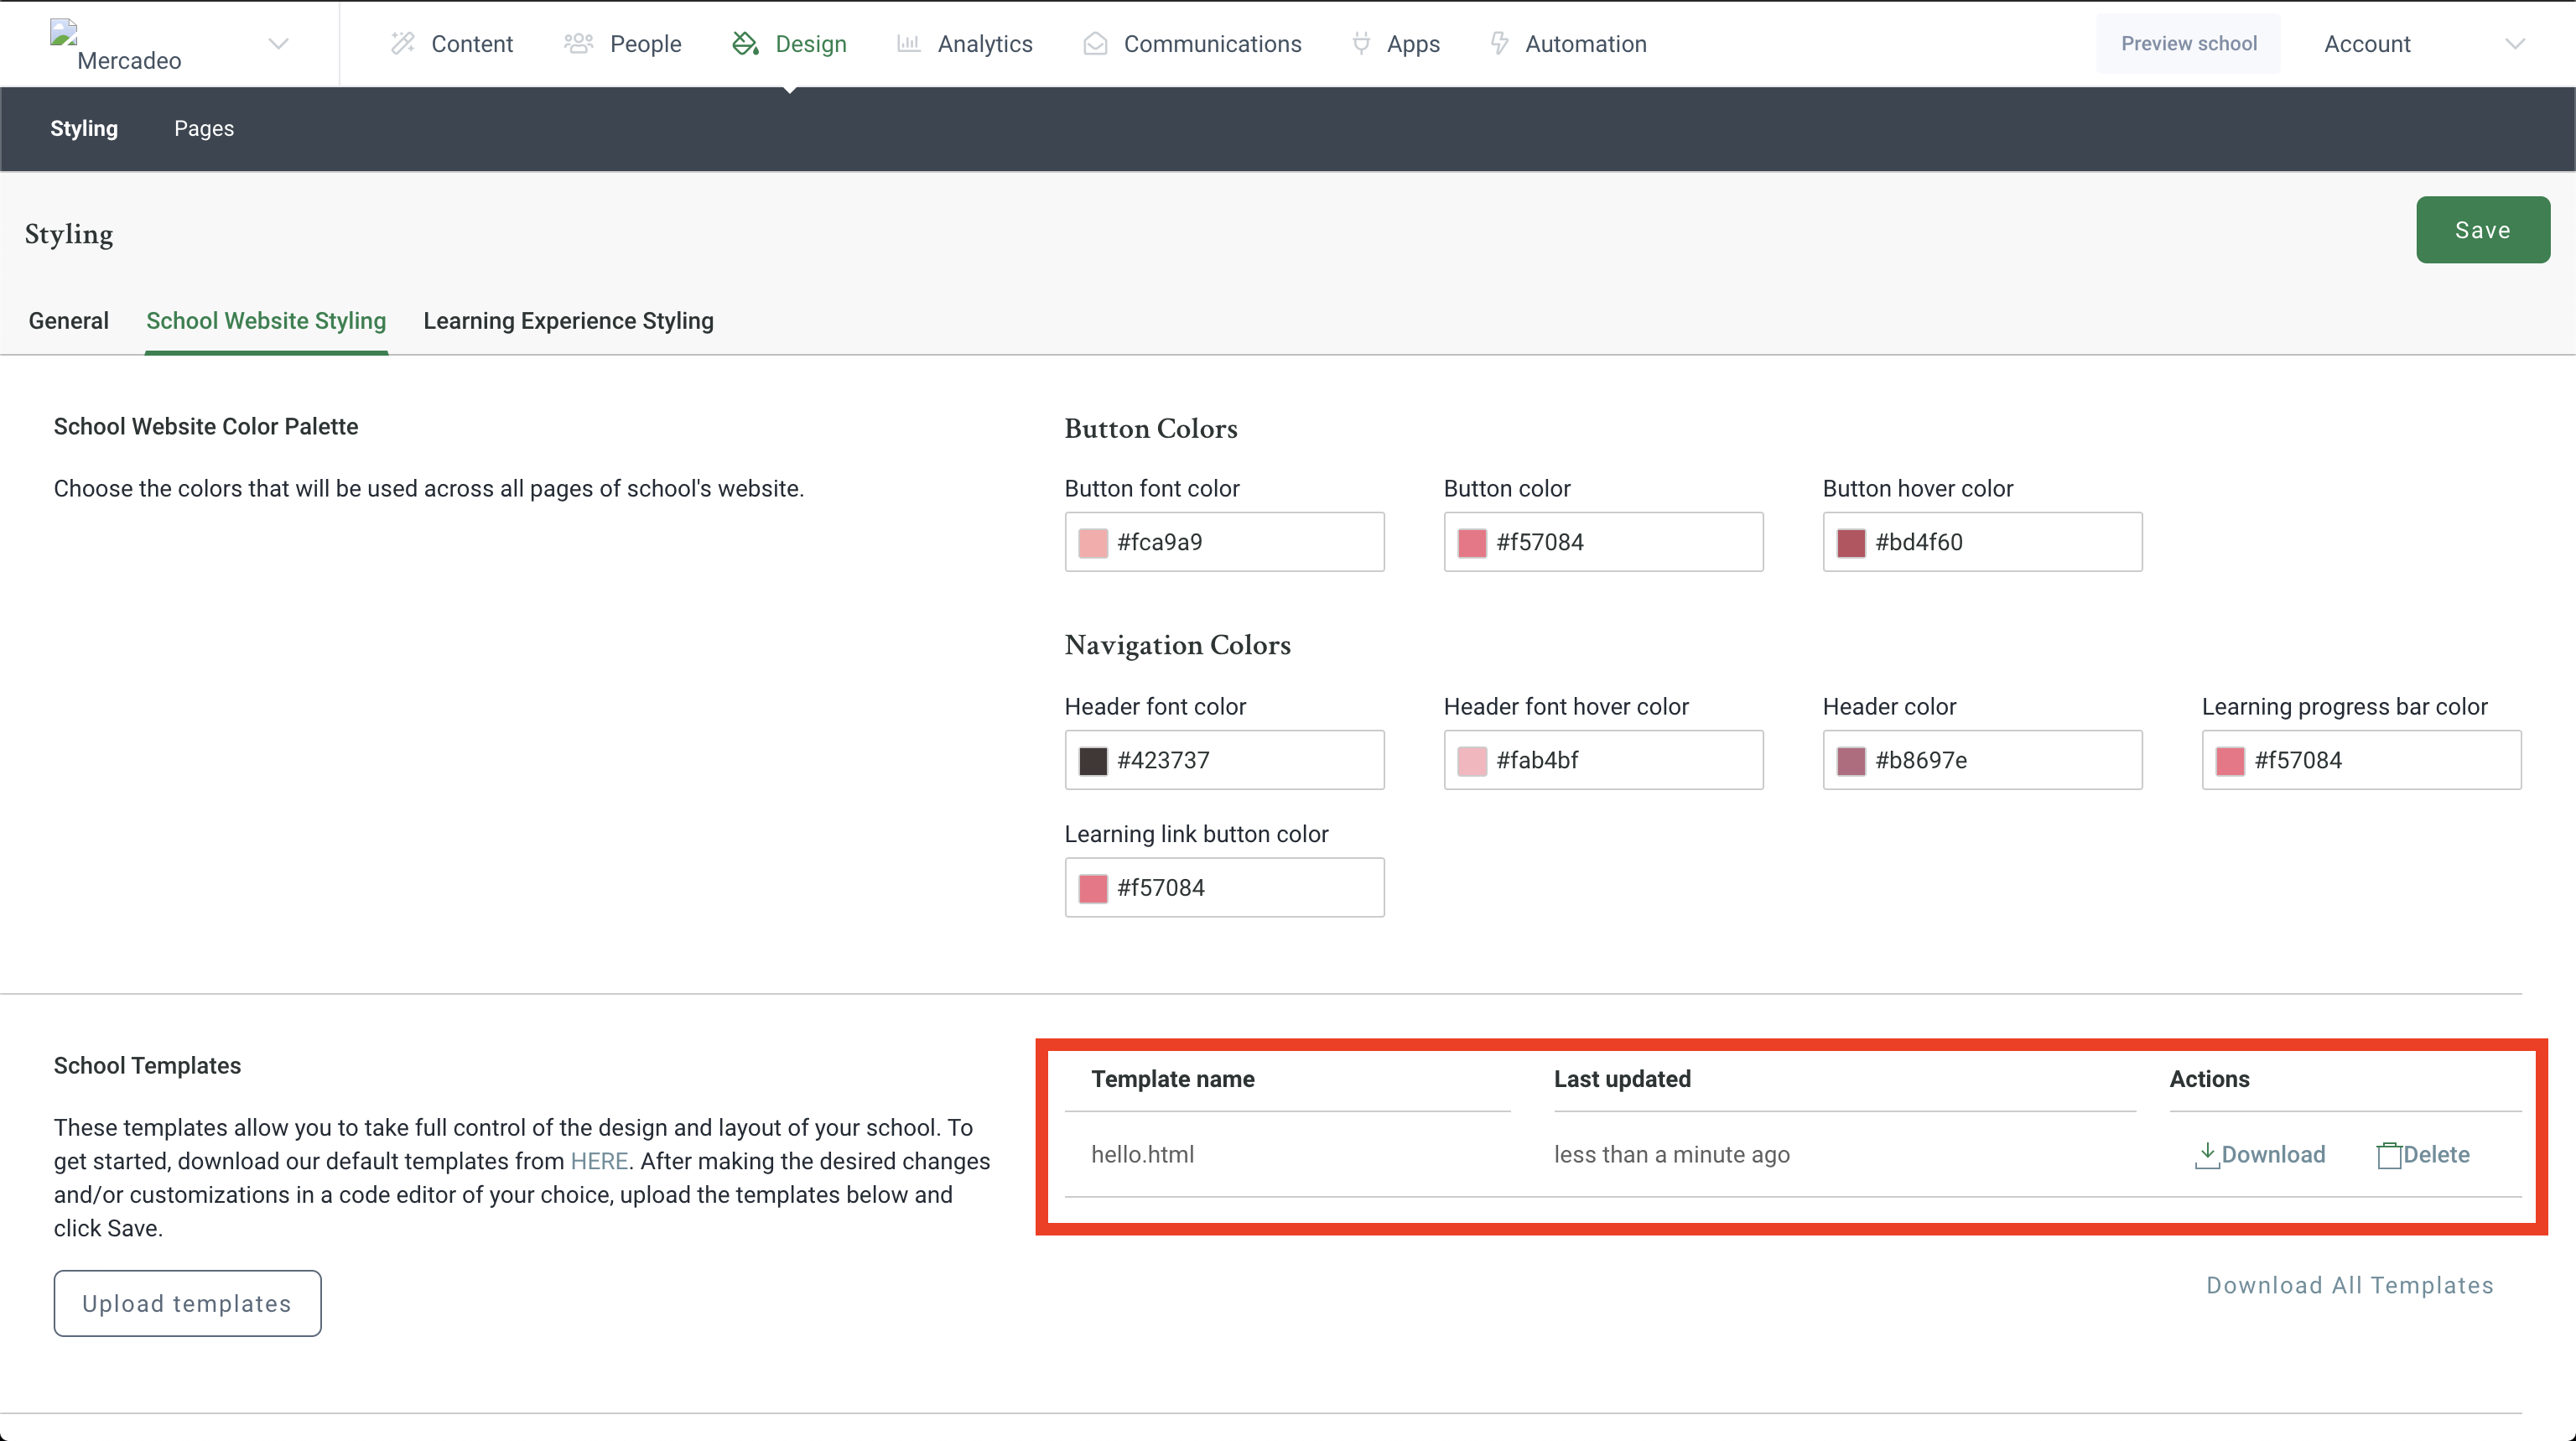
- Admin uploads the template to the system:

- Admin can access the newly created custom page under the
/app/hellopath:

Making the page public
By default, the custom page you created requires authentication to access it. You can change that default by including a special comment in the Liquid template:
{% comment %} skip-auth {% endcomment %}

<div>hello</div>
This line will make the page public so that your learners can access it without the need to sign in.
Updated over 1 year ago
